
MT5'e EA nasıl eklenir: tam rehber
Updated: May 15, 2026
▼ Table of Contents
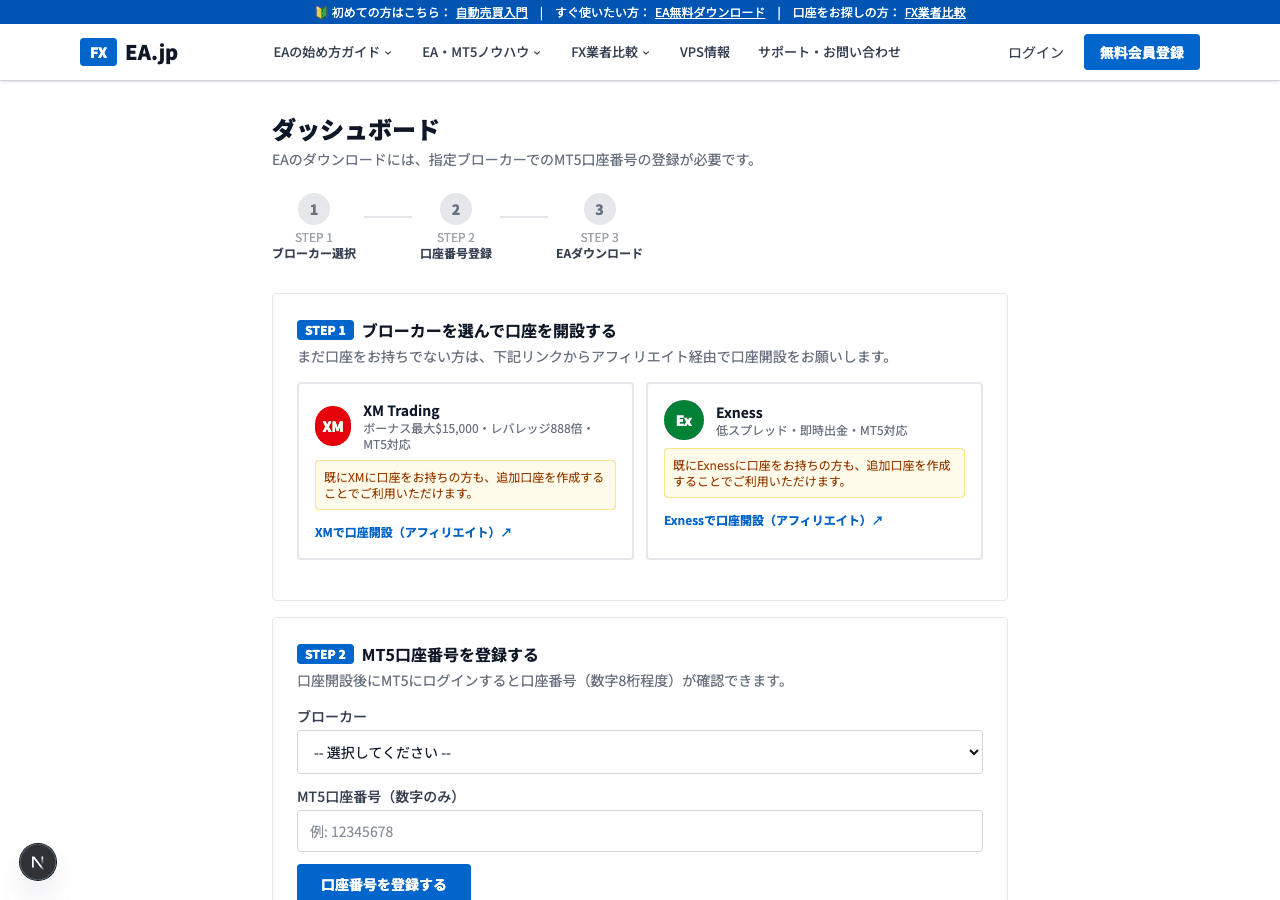
STEP 1 | Download EA File
Ücretsiz EA sayfasındaki (DONCHIAN ENGINE) kayıt formuna MT5 hesap numaranızı girin. Onaydan sonra indirme bağlantısı e-posta ile gelir. DONCHIAN_ENGINE.zip dosyasını açın: içinde EA (DONCHIAN_ENGINE_EA.ex5) ve ilk kurulum notu (SETUP_FIRST.txt) bulunur. .ex5 zaten derlenmiştir, derleme gerekmez.
STEP 2 | Copy EA File to MT5 Folder
Place the downloaded EA file in a folder that MT5 can recognize.
※ AppData is a hidden folder. In Explorer, go to 'View' → enable 'Show hidden files'.
Easy Method: Open from MT5 Menu
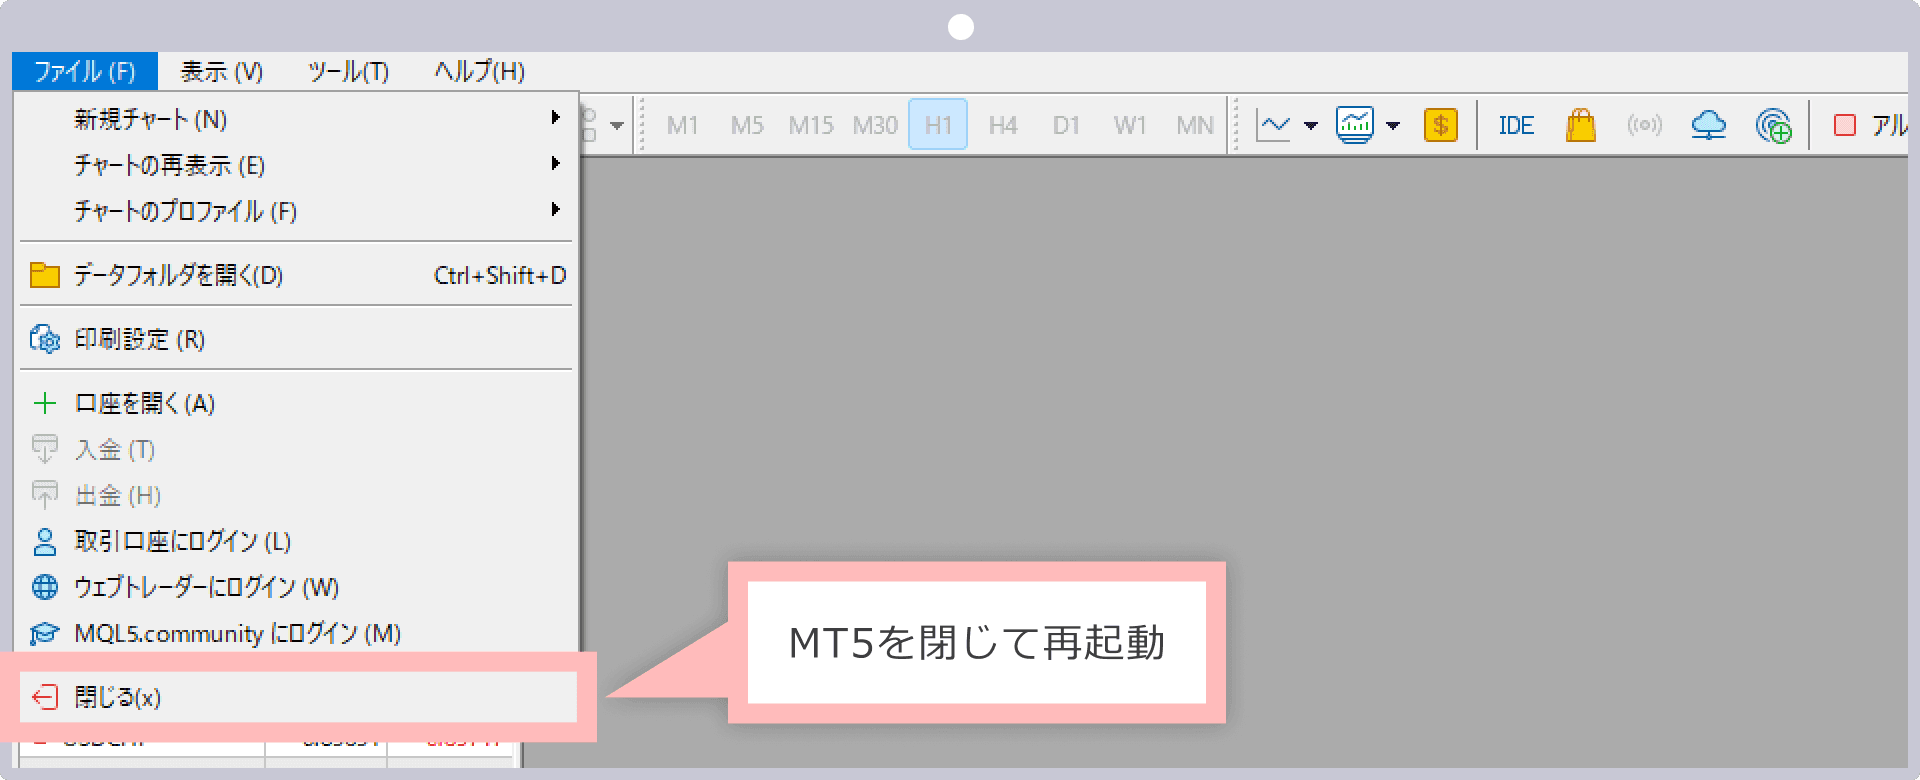
- 1.Launch MT5 and click 'File' → 'Open Data Folder' from the top menu
- 2.Open the 'MQL5' → 'Experts' folder
- 3.Copy & paste the downloaded DONCHIAN_ENGINE_EA.ex5 file into this folder
📌 Broker Sembol Referansı
USDJPY için bile sembol adları broker'a göre farklılık gösterir. Broker'ınızın tam sembol adını her zaman doğrulayın
| Broker | GOLD | EURUSD | USDJPY | Not |
|---|---|---|---|---|
| XMTrading | GOLD | EURUSD | USDJPY | Standart Hesap (Micro hariç) |
| XMTrading Micro | GOLDmicro | EURUSDmicro | USDJPYmicro | Micro hesap sembolü |
| Exness Standard | XAUUSD | EURUSD | USDJPY | Standart Hesap |
| Exness Pro/Raw/Zero | XAUUSD | EURUSD | USDJPY | Pro/Raw/Zero Hesap |
| Exness Standard Cent | XAUUSDc | EURUSDc | USDJPYc | Cent Hesap (sondaki 'c'ye dikkat) |
STEP 3 | Enable EA in MT5
- 1
Refresh the Navigator
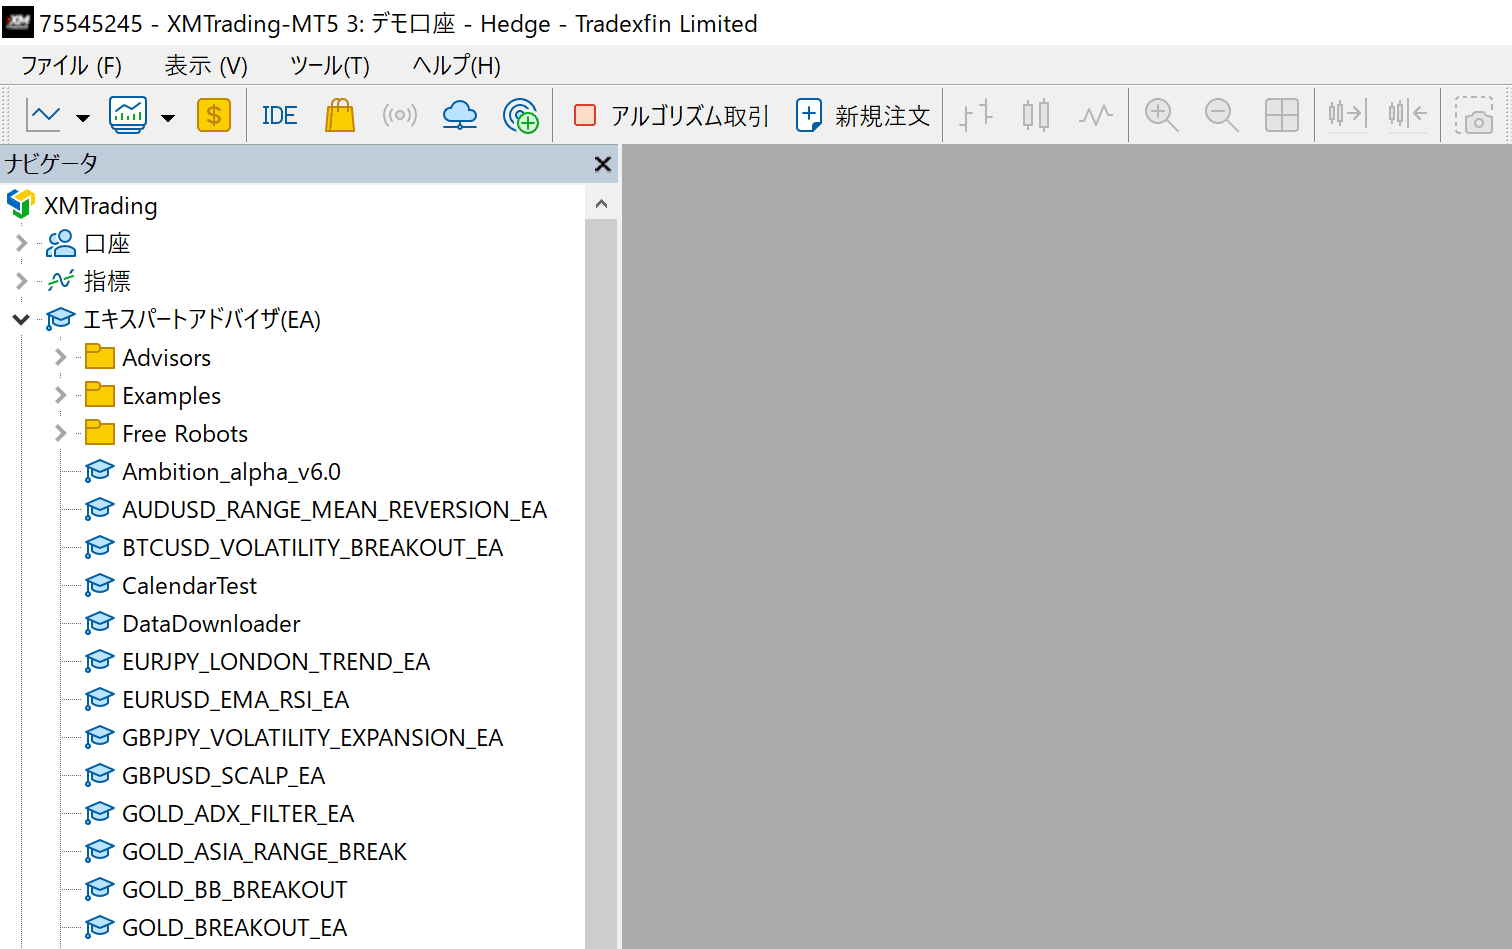
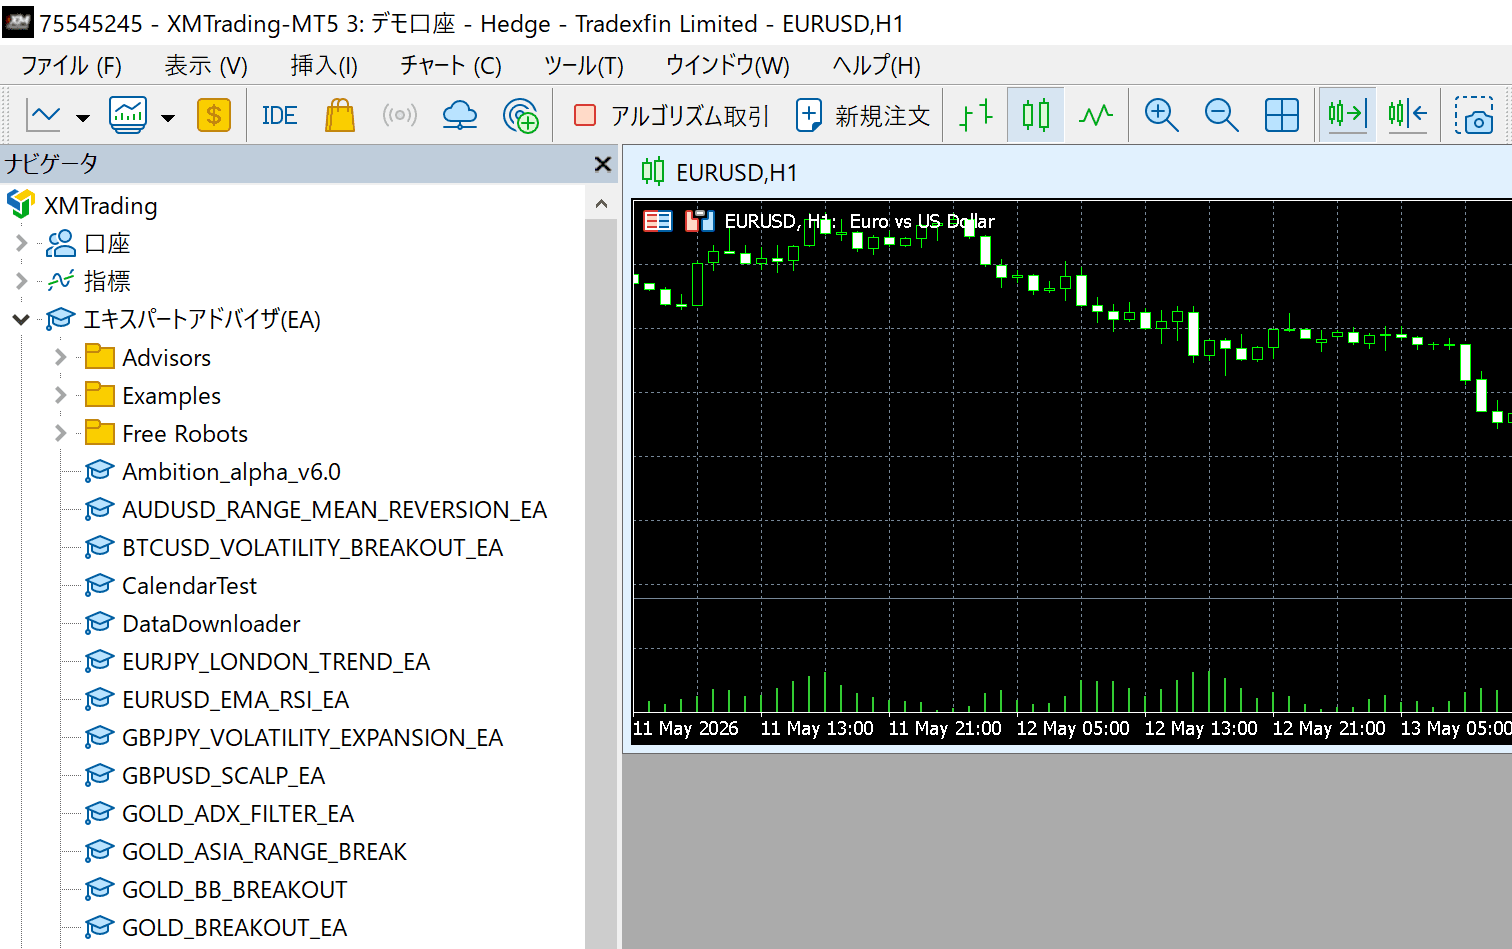
In the MT5 Navigator panel (left side), right-click 'Expert Advisors' → Click 'Refresh'. If DONCHIAN_ENGINE_EA appears, you've succeeded.
DONCHIAN_ENGINE_EA displayed in the list - 2
Display USDJPY Chart
File → New Chart → Select USDJPY. Set the timeframe to H1 (1 hour).
- 3
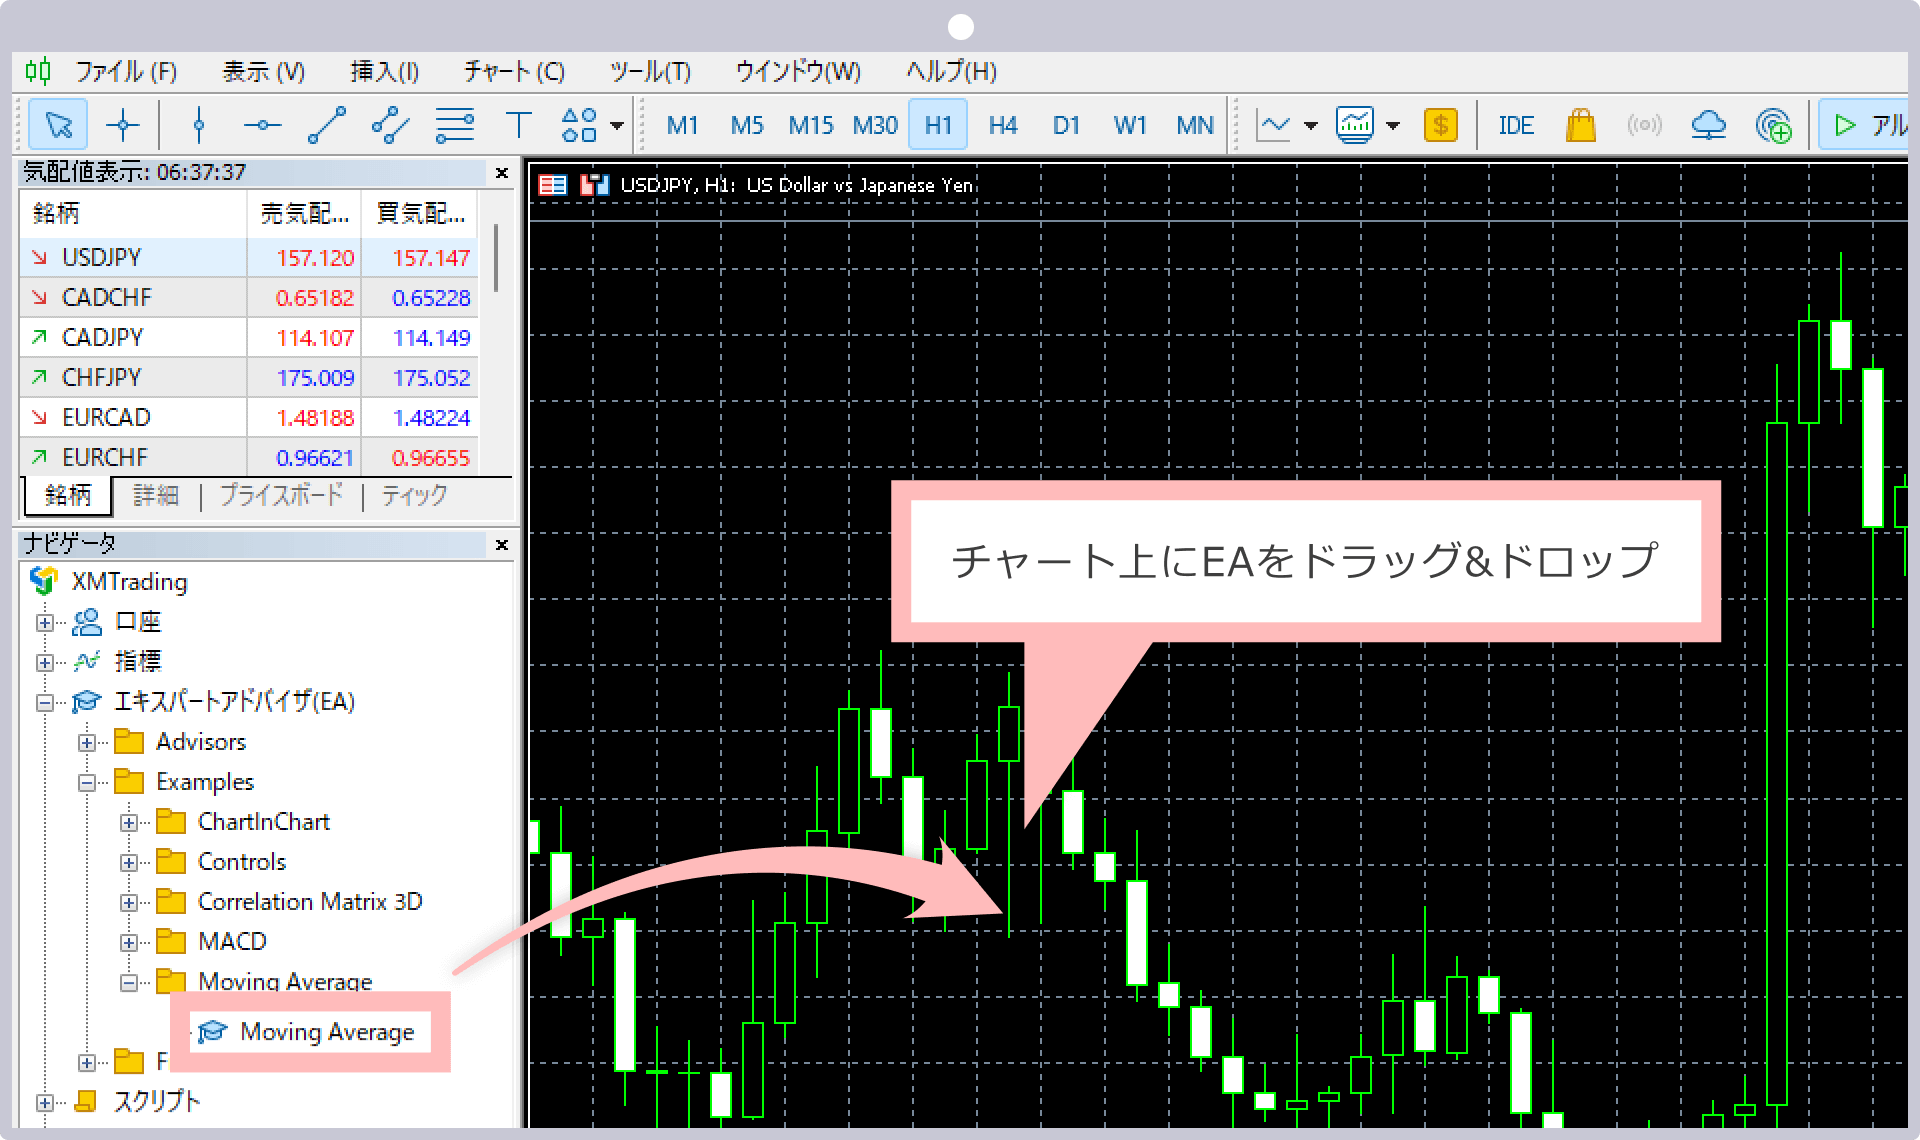
Drag EA onto Chart
Drag 'DONCHIAN_ENGINE_EA' from the Navigator onto the USDJPY chart.
- 4
Check Settings Dialog
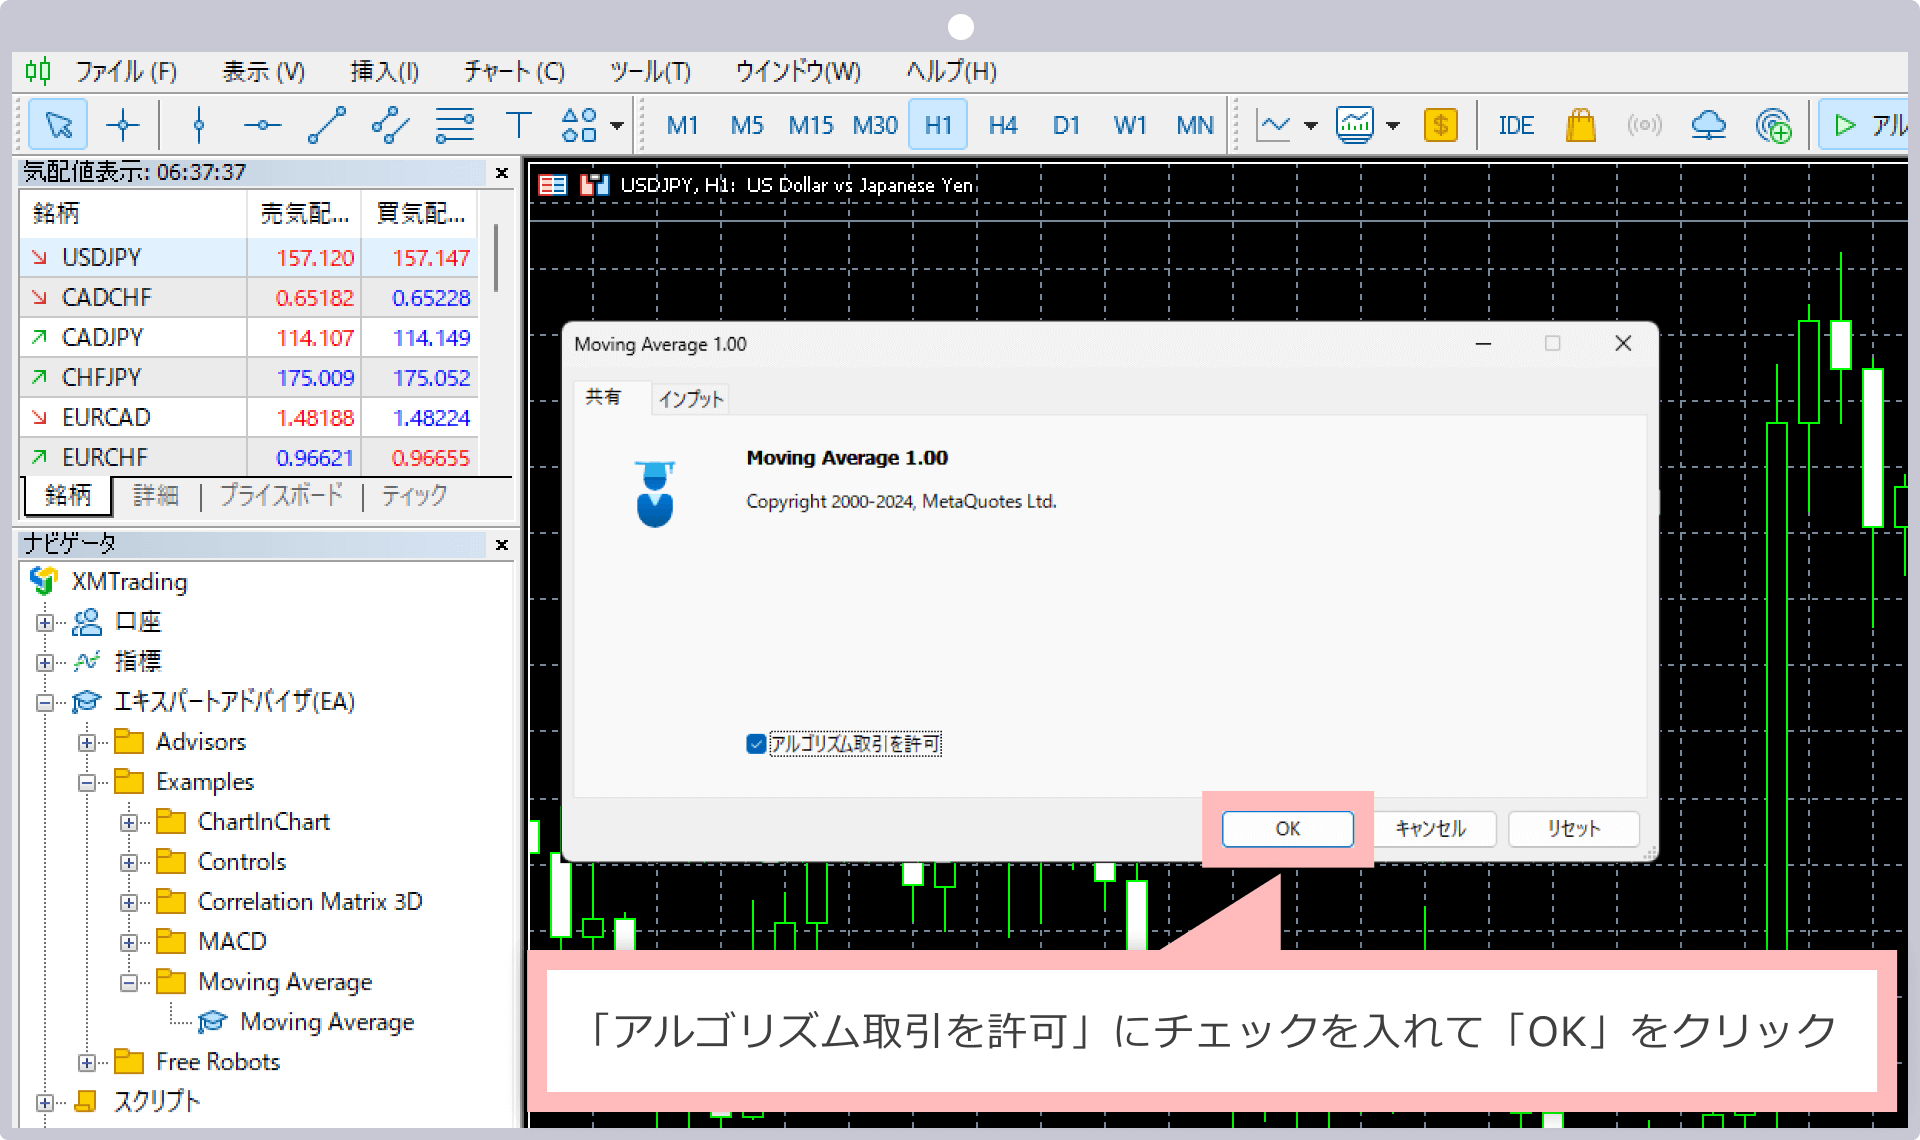
The settings dialog will open. In the 'Common' tab, confirm 'Allow Automated Trading' is checked, then click 'OK'.
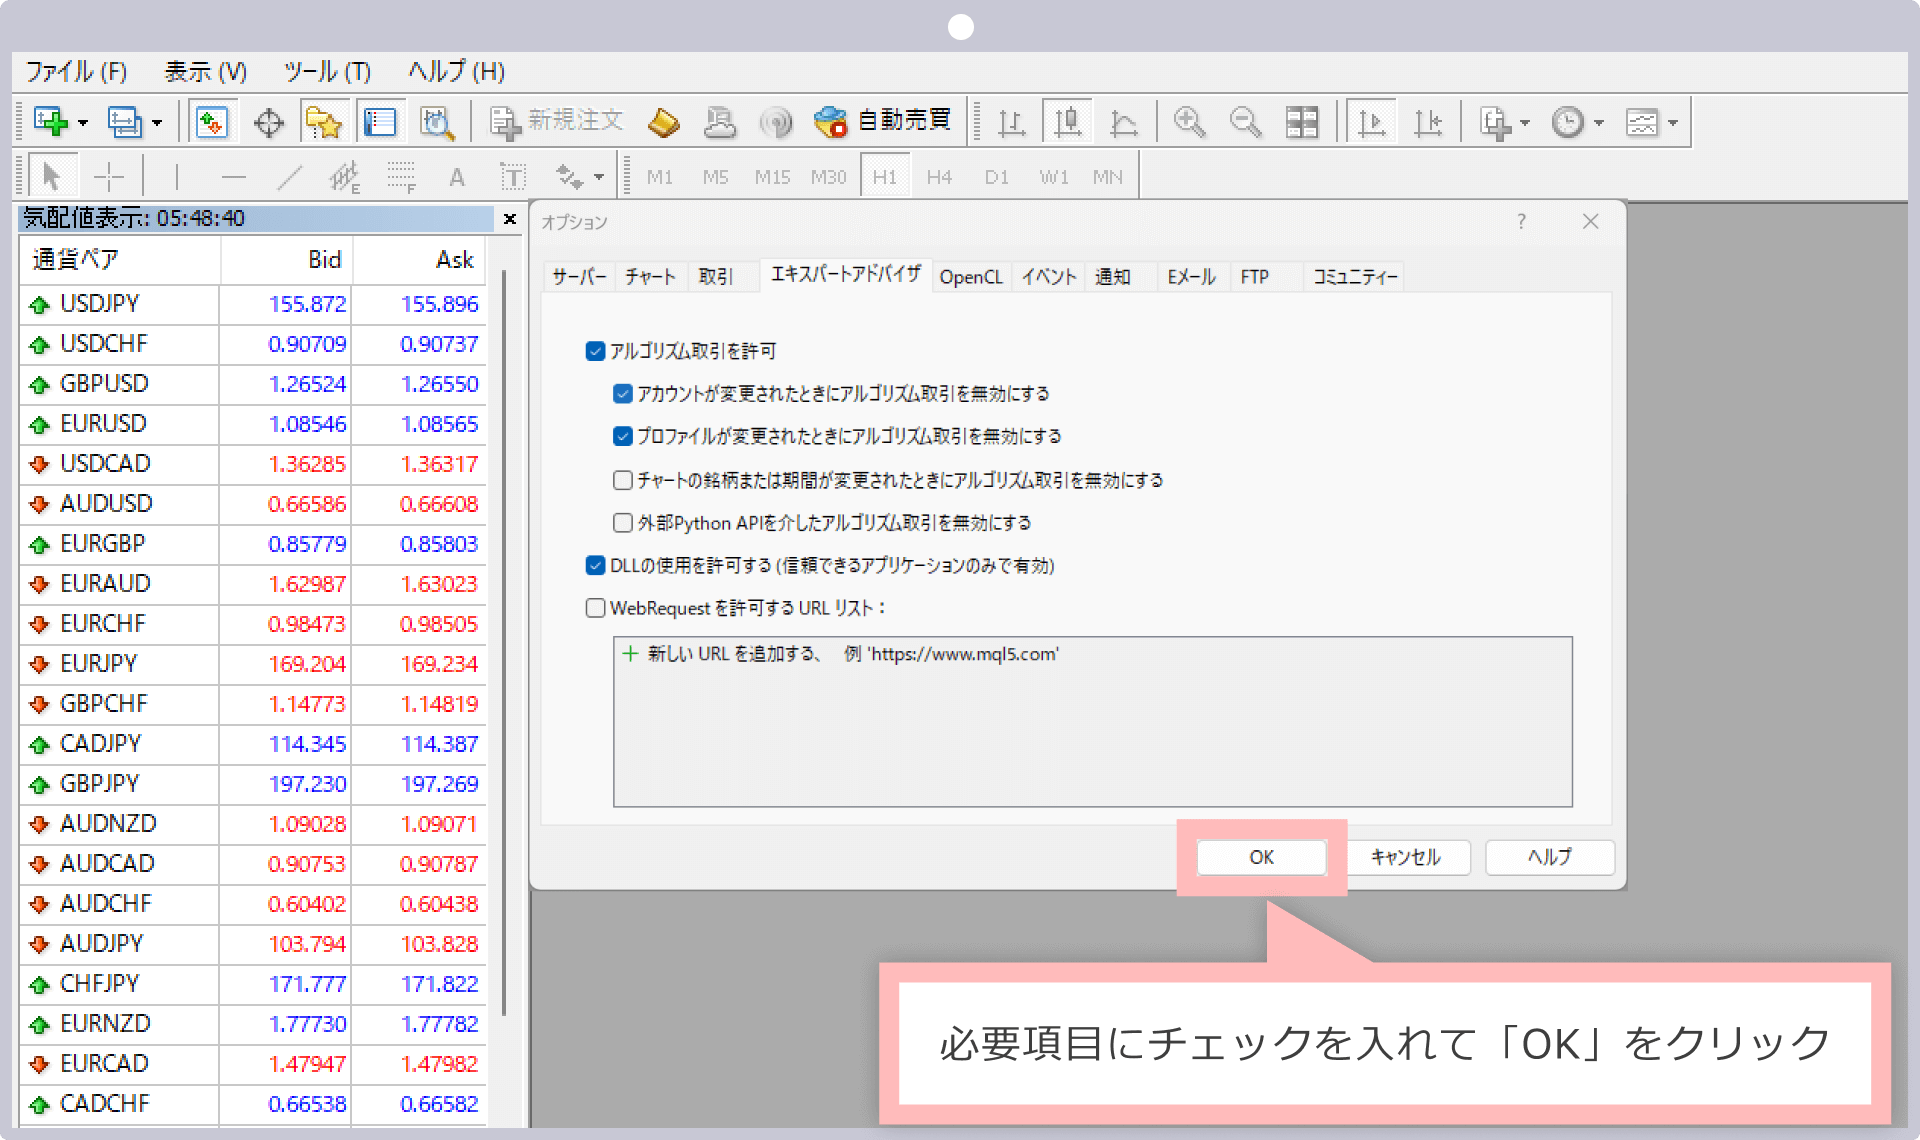
Check 'Allow Automated Trading' - 5
Turn ON Auto Trading Button
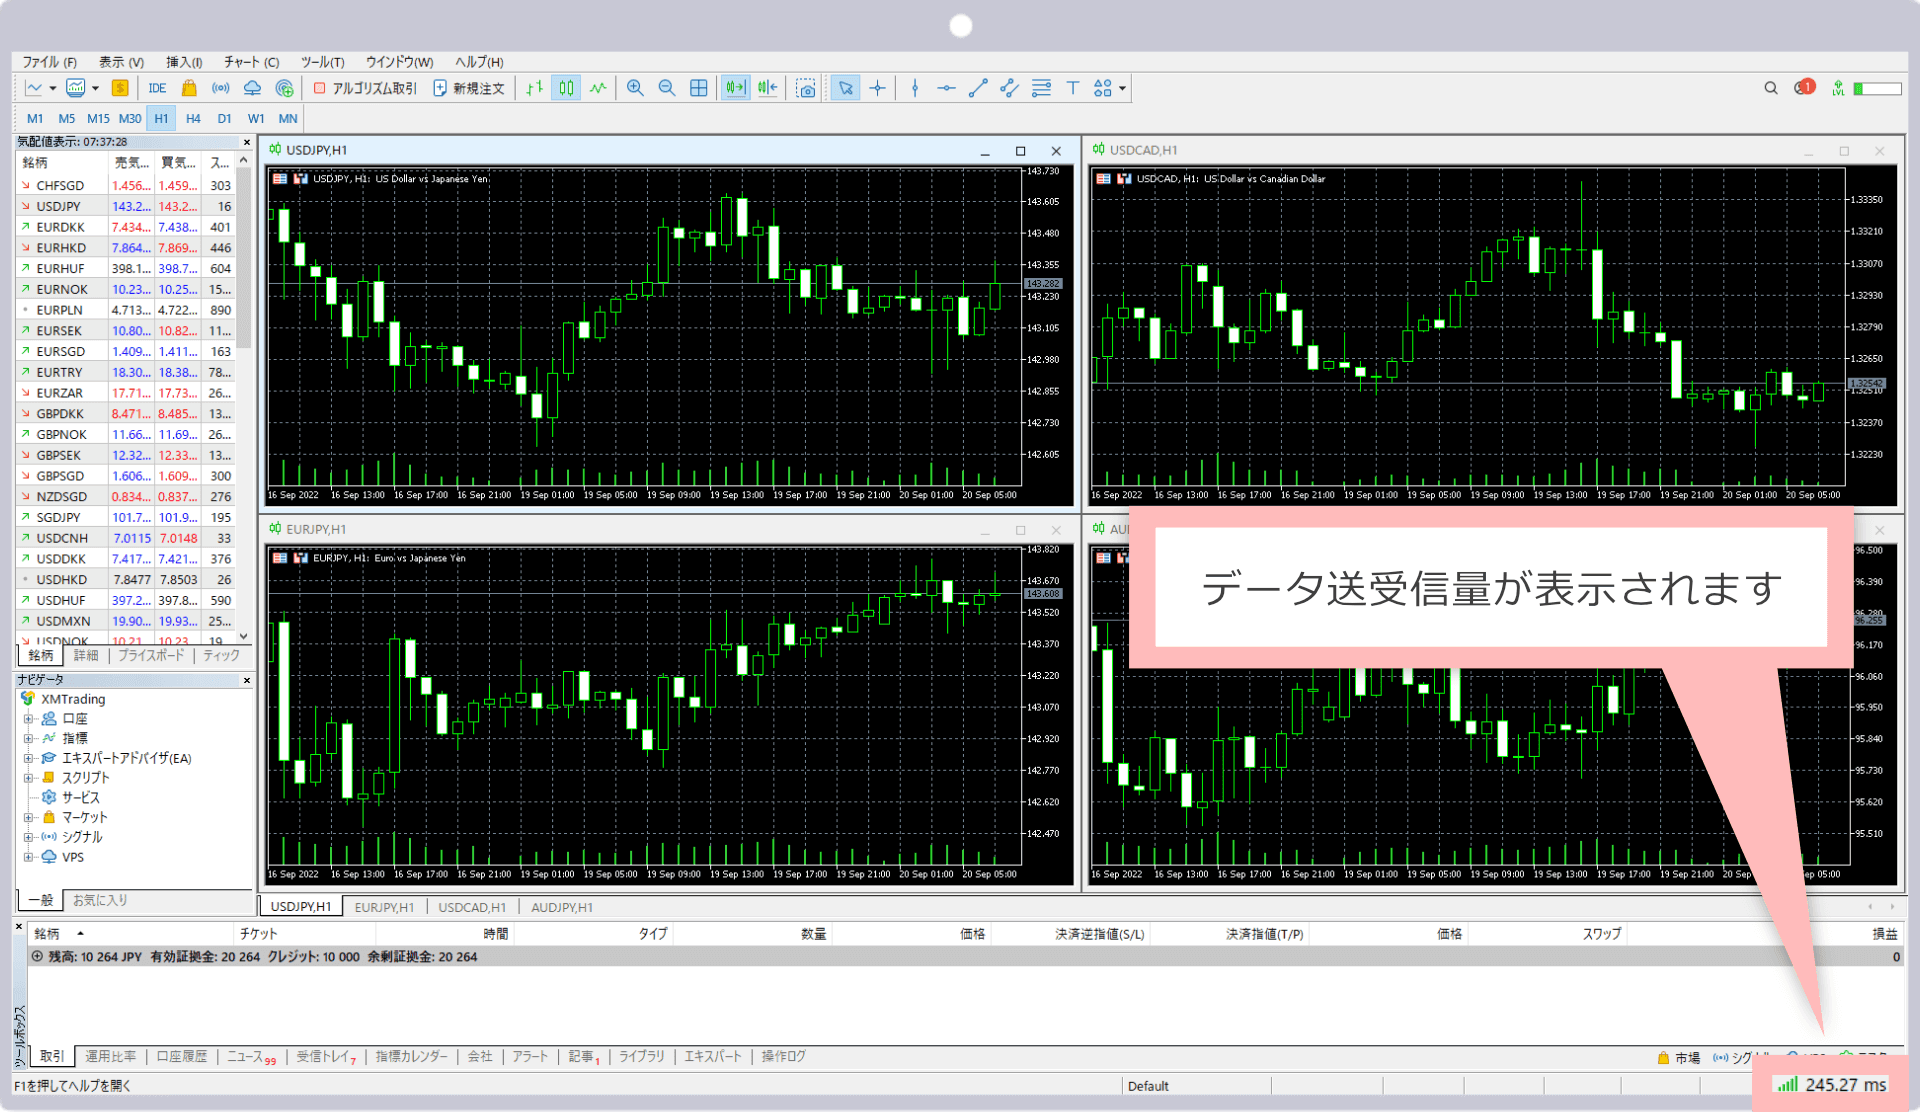
Confirm that the 'Auto Trading' button in the MT5 toolbar is green. If the EA name appears in the upper right of the chart, it's running.
EA name and green auto trading button visible in upper right
STEP 4 | Parameter Settings
You can configure values in the 'Input Parameters' tab of the EA's properties dialog. For beginners, it's recommended to use default values.
| Parameter | Default | Recommended |
|---|---|---|
| RiskPercent | 0.5 | 0,5 (yeni başlayanlar: değiştirmeyin) |
| FixedLot | 0.0 | 0 (otomatik bırakın) |
| HoldBars | 60 | 60 (değişiklik yok) |
| Symbol | USDJPY | USDJPY (sembol otomatik algılanır) |
See the EA detail page for full parameter details.
STEP 5 | Verify Operation
Let's verify that the EA is running correctly.
- ✓EA name (DONCHIAN_ENGINE_EA) is displayed in the upper right of the chart
- ✓The 'Auto Trading' button in the toolbar is green
- ✓No error messages in the 'Experts' tab
- ✓Always test on a demo account before using a live account
✅ EA Kurulum Kontrol Listesi
- □EA dosyası (.ex5) Experts klasörüne kopyalandı
- □MT5'te otomatik işlem etkinleştirildi
- □Grafik doğru broker sembol adıyla açıldı
- □EA grafiğe eklendi
- □Parametreler ayarlandı ve Tamam tıklandı
- □Gülen yüz simgesi (:-)) grafik üzerinde görünüyor
- □Experts sekmesinde hata yok